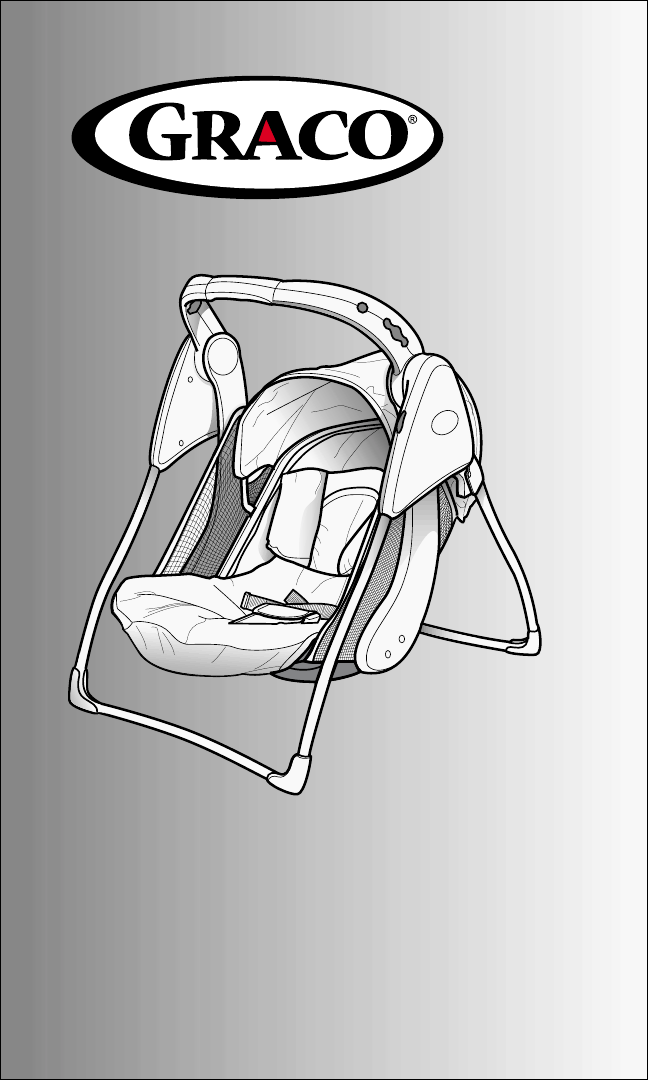
Graco Type 1850 User Manual
Browse online or download User Manual for Gardening equipment Graco Type 1850. Graco Type 1850 User Manual
- Page / 32
- Table of contents
- BOOKMARKS
- OWNER'S MANUAL 1
- MANUEL D'UTILISATEUR 1
- MANUAL DEL PROPIETARIO 1
- For Safe Battery Use 3
- Parts list • Liste des pièces 8
- • Lista de las piezas 8
- MISE EN GARDE 13
- ADVERTENCIA 13
- ENCLENCHEZ! 14
- ¡CHASQUIDO! 14
- • Posiciones de la manija 15
- • Para asegurar al niño 15
- • Uso como transportador 16
- Starting Swing 18
- • Démarrer la balançoire 18
- • Activación del columpio 18
- Music and Lights 20
- • Musique et lumières 20
- • Música y luces 20
- • Para el almacenamiento 24
- Problem Solving 26
- Solutions aux problèmes 27
- Resolución de problemas 28
- Care and Maintenance 29
- Soins et entretien 29
- Cuidado y mantenimiento 29
- • Circle the part you need 31
- Ship to • Enviar a: 32
- Must be filled in: 32
- Debe completarse: 32
Summary of Contents
OWNER'S MANUALMANUEL D'UTILISATEURMANUAL DEL PROPIETARIO©2003 Graco ISPS007AB 04/03
1054Attaching Seat Pad and Head Support• Pour attacher le coussin du siège et l'appui-tête • Cómo conectar la almohadilladel asiento y el apoyo d
11Secure head support strapwith VELCRO®on back ofseat cover.Asegure la correa de apoyode la cabeza con VELCRO®en la parte de atrás de lafunda del asie
12Wrap pad under front ofseat.Envuelva la almohadilladebajo de la parte delanteradel asiento.Enveloppez le coussin sousl'avant du siège.11Insert
13Assembling Canopy • Assemblage du baldaquin • Cómo armar la capota1213Toy style mayvaryJuguetes los estilos puedenvariar14OROUOMISE EN GARDERisque d
141615SNAP!ENCLENCHEZ!¡CHASQUIDO!Securely snap canopy mountsinto top slot on frame exactly as shown.Trabe con fuerza los montantesde la capota en la r
15La manija puede fijarse en una de 4 posiciones: 1 Almacenamiento (NO use el columpio con la manija en la posición de almacenamiento.)2 Vista del ni
16Use as Carrier • Utilisez comme porte-bébé• Uso como transportador20La manija se traba en la posición detransporte cuando usted la tira haciaarriba.
17Installing Batteries (not included)• Installation des piles (non incluses) • Instalación de las pilas (no se incluyen)"C" LR4"C&quo
18Starting Swing• Démarrer la balançoire• Activación del columpio24WARNING avoid serious injury from falling or sliding out.Always use seat belt. Afte
19ADVERTENCIA evite una lesión seria debido a una calda o resbalamiento del asiento. Use siempre el cinturón de seguridad.Luego de ajustar las hebilla
Failure to follow these warnings and the assembly instructions could result in serious injury or death.• PLEASE SAVE OWNER’S MANUAL FOR FUTURE USE.• T
20Music and Lights• Musique et lumières• Música y lucesTO ACTIVATE MUSIC: push the music “ON/OFF” button located inthe middle of the “+” and “-” butto
21PARA ACTIVAR LAS LUCES: simplemente oprima el botón con lalámpara para "ENCENDER" y "APAGAR" las luces.NOTA: Las luces se apagar
22Insert tab into slot and attachto plastic hook on seat back.Repeat on other side.Inserte la lengüeta en laranura y conecte el ganchode plástico en e
232829Boot opens for easyaccess to child.La cubierta se abrepara facilitar elacceso al niño.La chancelière s'ouvre pouraccéder facilementà l&apos
24For Storage • Pour l’entreposage• Para el almacenamiento3031SNAP!ENCLENCHEZ!¡CHASQUIDO!Empuje la manija hacia abajo en la posición de almacenamiento
253233Oprima los botones de liberación delas patas y pliegue las patas.Squeeze leg release buttons, and fold legs together.Pressez les boutons de déga
26Problem SolvingSWING WON’T OPERATE:1. No batteries in swing.2. Batteries dead.3. Speed setting too low.4. Batteries in backwards — check “+” and “-”
27Solutions aux problèmesLA BALANÇOIRE NE DÉMARRE PAS:1. Aucune piles dans la balançoire2. Piles épuisées.3. Vitesse trop lente.4. Piles installées à
28Resolución de problemasEL COLUMPIO NO FUNCIONA:1. El columpio no tiene pilas.2. Las pilas están gastadas.3. El valor de la velocidad está demasiado
29Care and Maintenance• FROM TIME TO TIME CHECK YOUR SWING for loose screws,worn parts, torn material or stitching. Replace or repair the parts asneed
3For Safe Battery UseKeep the batteries out of children’sreach.Any battery may leak battery acidif mixed with a different batterytype, if inserted inc
30Complete the following form. Yourmodel number MUST be includedon the form to ensure properreplacement parts. Your modelnumber can be found on thesti
31• Circle the part you need.• Marque con un círculo el repuesto que necesita.1$12.008$10.00$5.003452$5.00$8.006$5.007$8.00$5.00Toy style mayvaryJugue
32Ship to • Enviar a:Name • NombreAddress • Dirección City, State, Zip • Ciudad, Estado, Código postal( )
• DANGER D'ÉTRANGLEMENT:• NE PAS installer la balançoire à un endroit ou il y a des cordons, tels les stores, lesrideaux ou téléphones, etc.• Les
5Jetez immédiatement les piles quifuient. Les piles qui fuient peuventcauser des brûlures de la peau oud’autres blessures. Lorsque vousjetez des piles
6• PELIGRO DE STRANGULACIÓN:• NO coloque el columpio enningún lugar donde haya cordones, tales como cordones de cortinas, persianas, teléfonos, etc.•
7Deseche inmediatamente pilascon fugas. Pilas con fugaspueden causar quemaduras en lapiel u otras lesiones personales.Al desechar pilas, asegúrese ded
FEATURES ON CERTAIN MODELS • CARACTÉRISTIQUES SUR CERTAINS MODÈLES • CARACTERÍSTICAS EN CIERTOS MODELOSALL MODELS • TOUS MODÈLES • TODOS MODELOSThis m
9Assembly • Assemblage • MontajeInsert front and rearlegs into hub housingas shown (Legs notintended to be removedonce assembled).Ponga las patasdelan
Related products and manuals for Gardening equipment Graco Type 1850


 (32 pages)
(32 pages)
(32 pages)
© 2020, manymanuals.com. All rights reserved. | 0.080 s |
 Manymanuals.com
 Manymanuals.de
 Manymanuals.fr
 Manymanuals.it
 Manymanuals.pl
 Manymanuals.cz
 Manymanuals.es
 Manymanuals-pt.com
Comments to this Manuals